
In this post we will look into integrating Cisco Umbrella Roaming Client (RC) with Active Directory and how we can utilize Umbrella to enforce security policies based on Active Directory identities.
How it works
To enforce policies based on user and group identity Umbrella has to know about your Active Directory structure. To do this we need to install a connector on a domain-joined system that reads user and group information via LDAP(S) from one or multiple domain controllers and reports that information back to Umbrella Cloud via REST API. The second part of the Actve Directory integration is the Umbrella Roaming Client. It sends the currently logged in user information to the Cloud. By stitching together the state information and user to group mappings Umbrella can enforce granular policies based on a user identity.
Requirements
Before following this guide make sure your environment meets the following requirements:
- Windows Server 2012, 2012R2, 2016 or 2019 with atleast 100MB free disk space (on system running the connector)
- .NET Framework 4.5 or 4.7 installed (on system running the connector)
- Internet connectivity from Connector system to Umbrella Cloud
- TCP/443 to api.opendns.com (required to write user and group mappings to Umbrella API and register domain controller with cloud)
- TCP/443 to disthost.umbrella.com (required for automatic updates of the connector software)
Preperation
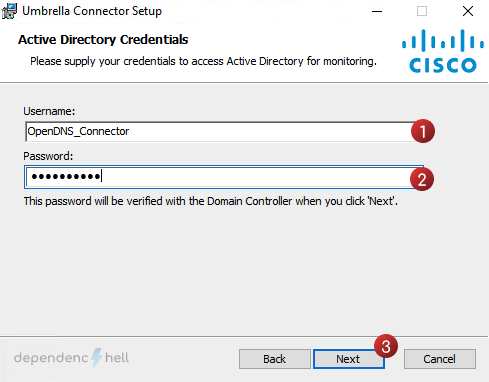
#1 Create a domain user for the connector
The user is required by the connector to query Active Directory via LDAP(s).
For simplicity you can edit the following powershell command to create the service user:
Just execute the Powershell command as a privileged user on your domain controller to create the service user . The command will prompt you to enter a password, make sure it meets the minimum requirements as specified in your GPO, otherwise an exception will occur.
New-ADUser -Name "Cisco Umbrella" -GivenName "Cisco" -Surname "Umbrella" -SamAccountName "OpenDNS_Connector" -UserPrincipalName "OpenDNS_Connector@example.com" -Path "OU=services,OU=users,DC=example,DC=com" -AccountPassword(Read-Host -AsSecureString "Password") -ChangePasswordAtLogon $false -Enabled $trueTip
By default the connector will expect a user named OpenDNS_Connector. If you decide to change usernamethe Active Directory preperation script must be executed with an additional flag (–username <sAMAccountName>)
#2 Download the Active Directory preperation script & connector setup
Open your Umbrella Dashboard and navigate to Deployments > Configuration > Active Directory

Click on Download and save the Windows Configuration script for Domain Controller and Windows Service (Active Directory Connector) files:

Proceed with copying the downloaded files to your domain controller.
#2 Register domain controller with Umbrella
Open a PowerShell as Administrator and navigate to the location where you put the OpenDNS-WindowsConfigurationScript.wsf Visual Basic script. The script will take care of assigning the user to the correct groups and registering the DC with Umbrella Cloud.
PS C:\Users\okaiser> cd DownloadsExecute the configuration script with the –forcenova flag (we do not use the Umbrella Virtual Appliances, hence we can skip configuration related to VA):
PS C:\Users\okaiser\Downloads> cscript .\OpenDNS-WindowsConfigurationScript.wsf --forcenova trueNote
Don’t forget to add the –username <sAMAccountName> option if you decided to use a custom username for the Umbrella service user!
OpenDNS-WindowsConfigurationScript.wsf will do various compatibility checks and display a prompt for proceeding with automatic configuration. If everything looks good proceed with Yes
Microsoft (R) Windows Script Host Version 5.812
Copyright (C) Microsoft Corporation. All rights reserved.
This is a Windows Server 2016 forest.
Testing configuration…
Full Computer Domain : DC=example,DC=com
ELR Group Domain : CN=Event Log Readers,CN=Builtin,DC=example,DC=com
DCOM Group Domain : CN=Distributed COM Users,CN=Builtin,DC=example,DC=com

Local Platform Configuration
Local OS: Windows Server 2019
Functional Level: Server 2016 Forest
Local IP: 198.18.0.35
Domain:   example.com (EXAMPLE)
Label:    DC02
Firewall Enabled: False
Remote Admin Enabled: True
AD User Exists: True
RDC Permissions Set: False
WMI Permissions Set: False
Audit Policy Set: True
Manage Event Log Policy Set: False
Event Log Readers MemberOf: False
Distributed COM MemberOf: False

Your platform is supported for auto-configure.
Do you want us to auto configure this Domain Controller (y or n)?
After the auto configuration is finished we will receive another prompt to register the domain controller with the Umbrella Cloud. Proceed with Yes
Configuring system…
Setting Remote Admin permissions on firewall…
Setting WMI permissions…
Setting RDC permissions…
RDC Permissions Set: True
Adding to Event Log Readers group…
ELR Group Domain : CN=Event Log Readers,CN=Builtin,DC=example,DC=com
ELR Group Domain : CN=Event Log Readers,CN=Builtin,DC=example,DC=com
OpenDNS_Connector member of Group DN : CN=Event Log Readers,CN=Builtin,DC=example,DC=com
Adding to Distributed COM Users group…
DCOM Group Domain : CN=Distributed COM Users,CN=Builtin,DC=example,DC=com
DCOM Group Domain : CN=Distributed COM Users,CN=Builtin,DC=example,DC=com
OpenDNS_Connector member of Group DN : CN=Event Log Readers,CN=Builtin,DC=example,DC=com
OpenDNS_Connector member of Group DN : CN=Distributed COM Users,CN=Builtin,DC=example,DC=com
Auto Config complete in full!
Would you like to register this Domain Controller (y or n)? y
Registering Domain Controller in cloud…
Register Success!
Updating DC status in cloud…
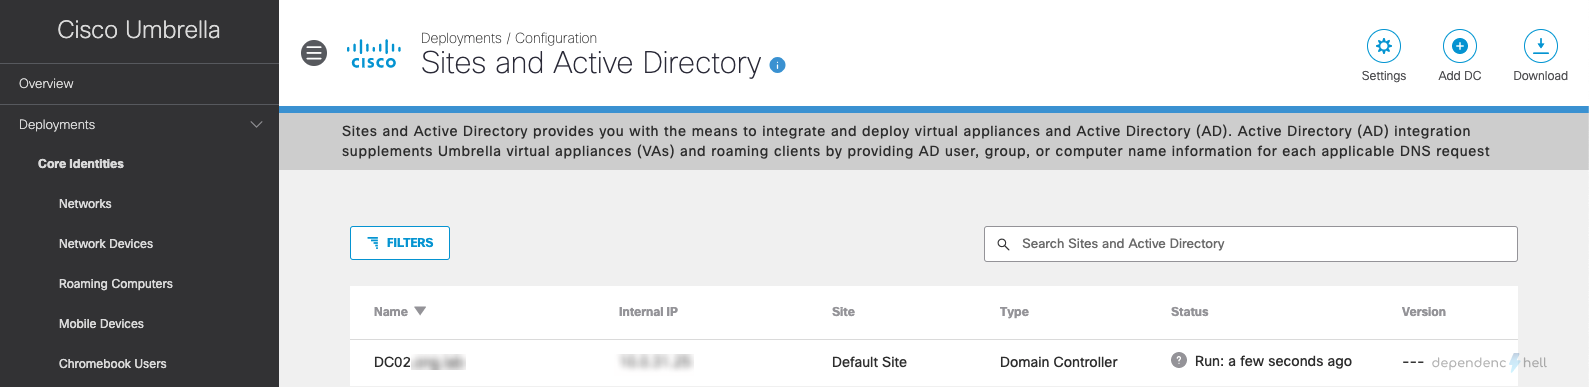
Update success!Now go back to Umbrella Dashboard and navigate to Deployments > Configuration > Active Directory for verifying that the domain controller was correctly registed with the cloud:
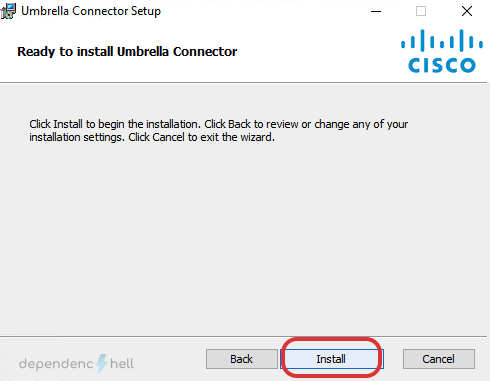
#3 Install connector service
Now that our domain controller is correctly registered with Umbrella we will proceed with installing the connector.
Note
The connector may be installed on any domain-joined system. For this setup I decided to install the connector directly on a domain controller
Warning
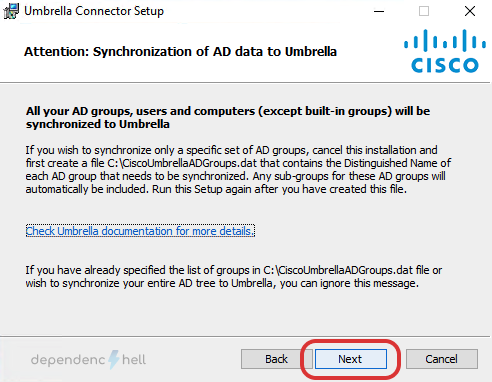
By default the connector will synchronise all users and groups with the Umbrella Cloud. If you only want synchronise specific groups create the file C:\CiscoUmbrellaADGroups.dat with a list of groups to sync.
e.g.
CN=Engineering,CN=Builtin,DC=example,DC=com
CN=Sales,CN=Builtin,DC=example,DC=com
CN=Marketing,CN=Builtin,DC=example,DC=com
Connect to your domain controller via RDP, navigate to the location where you put the OpenDNS-Windows-Service.zip and unzip the file.
PS C:\Users\okaiser> cd Downloads
PS C:\Users\okaiser\Downloads> Expand-Archive '.\OpenDNS-Windows-Service.zip'
Proceed with executing the msi installer:
PS C:\Users\okaiser\Downloads> cd OpenDNS-Windows-Service\OpenDNS-Windows-Service
PS C:\Users\okaiser\Downloads\OpenDNS-Windows-Service\OpenDNS-Windows-Service> msiexec.exe /i Setup.msi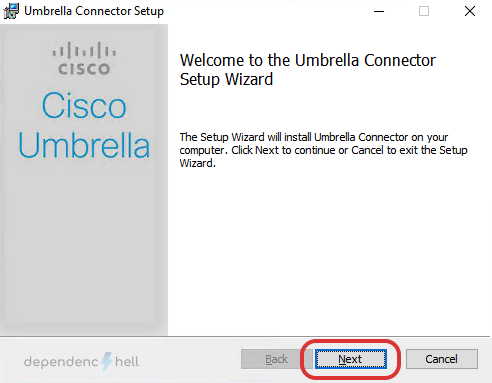


After finishng up the installation, the OpenDNS_Connector service should start automatically and register with Umbrella Cloud. To verify the registration status back to the Umbrella Dashboard and verify that the connector is also visible under Sites and Active Directory.

You may see that the Status icon is greyed out. This is normal, it will take some time for the information between your on-prem directory and Umbrella to be in sync.
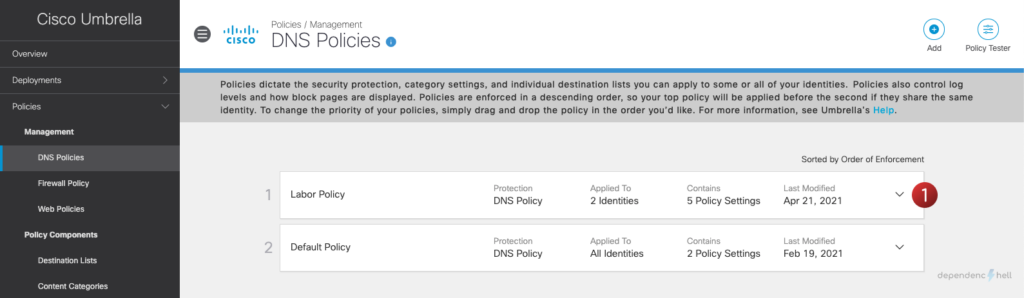
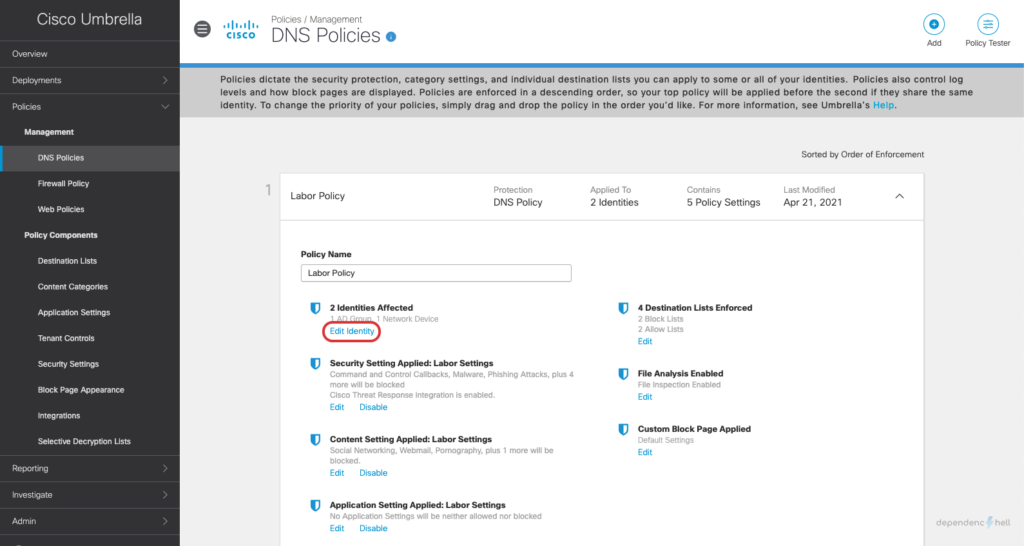
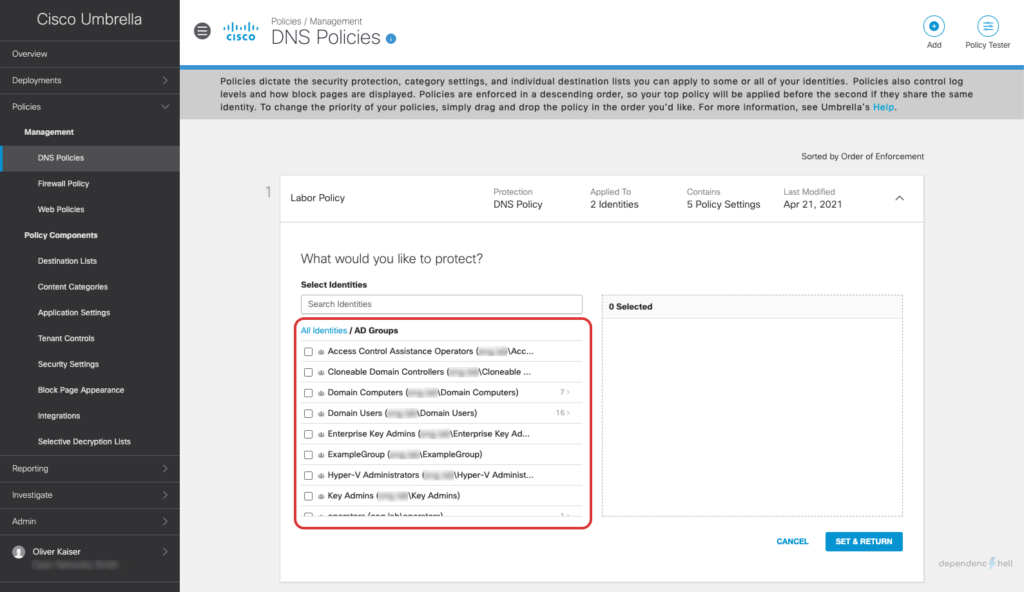
#4 Verify that groups are synchronised with Umbrella
Navigate to your DNS Policies (Policies > Management > DNS Policies), click on your policy and then proceed with Edit Identity to verify that your groups are available:
Note
For large setups the initial sync may take up to 4 hours. The connector status may appear as red until the initial sync is done. If you don’t see any groups yet grab a cup of coffee. ☕️
Tip
If you want to check what is happening behind the scenes you can analyze the connector logfile at C:\Program Files (x86)\OpenDNS\OpenDNS Connector\<version>\OpenDNSAuditClient.log

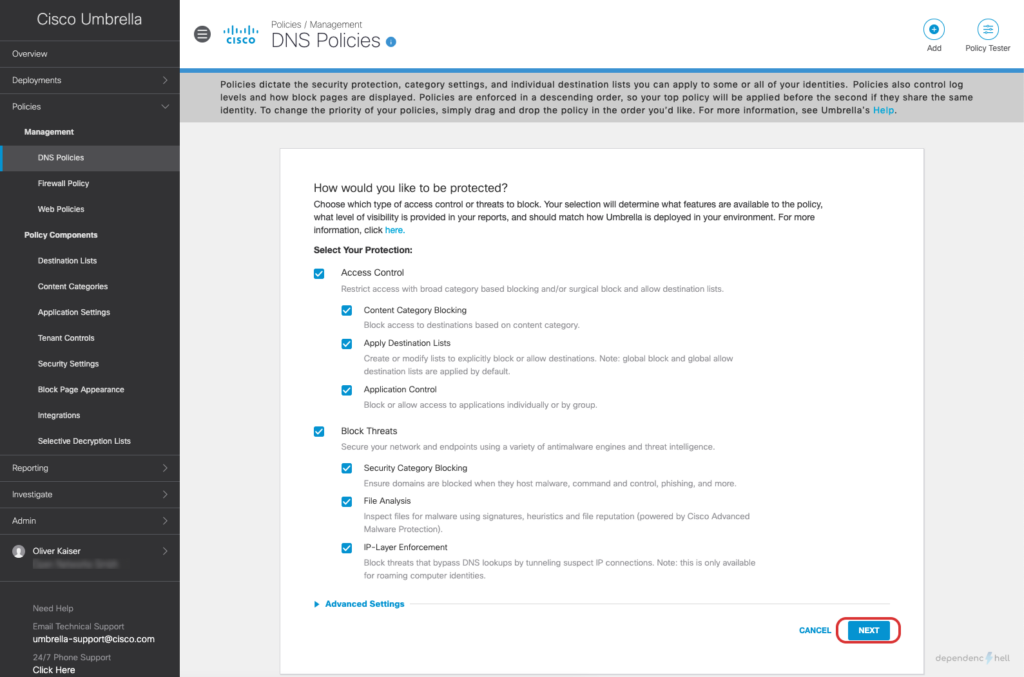
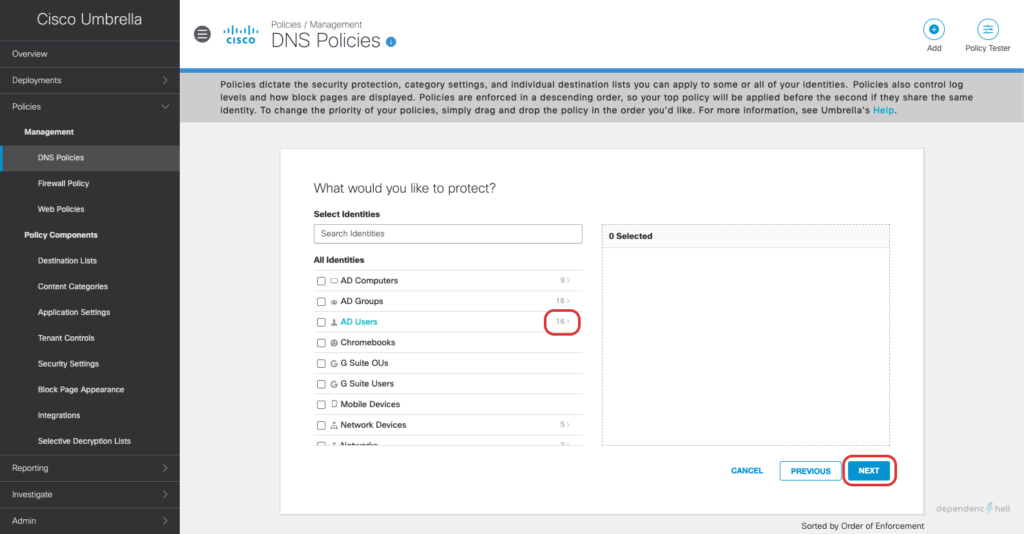
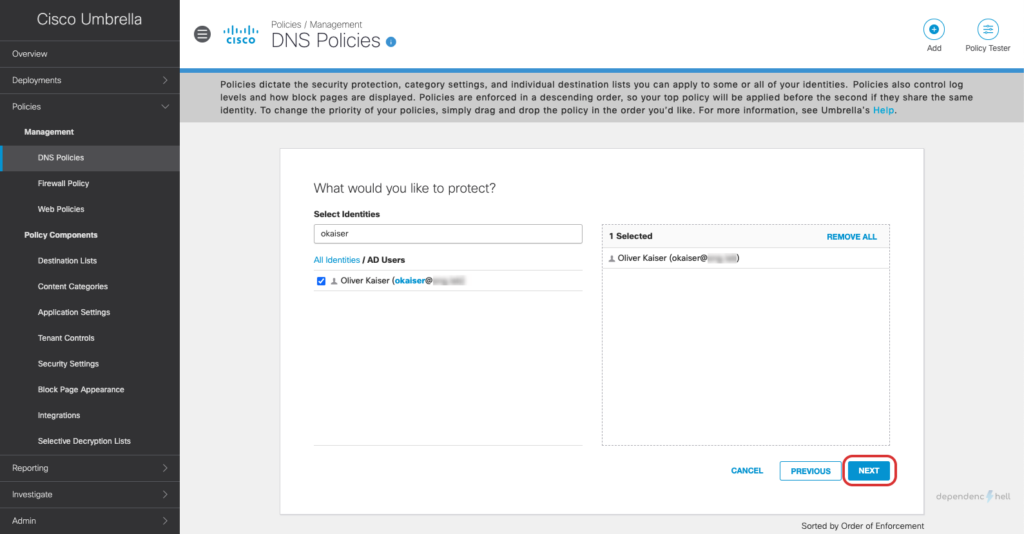
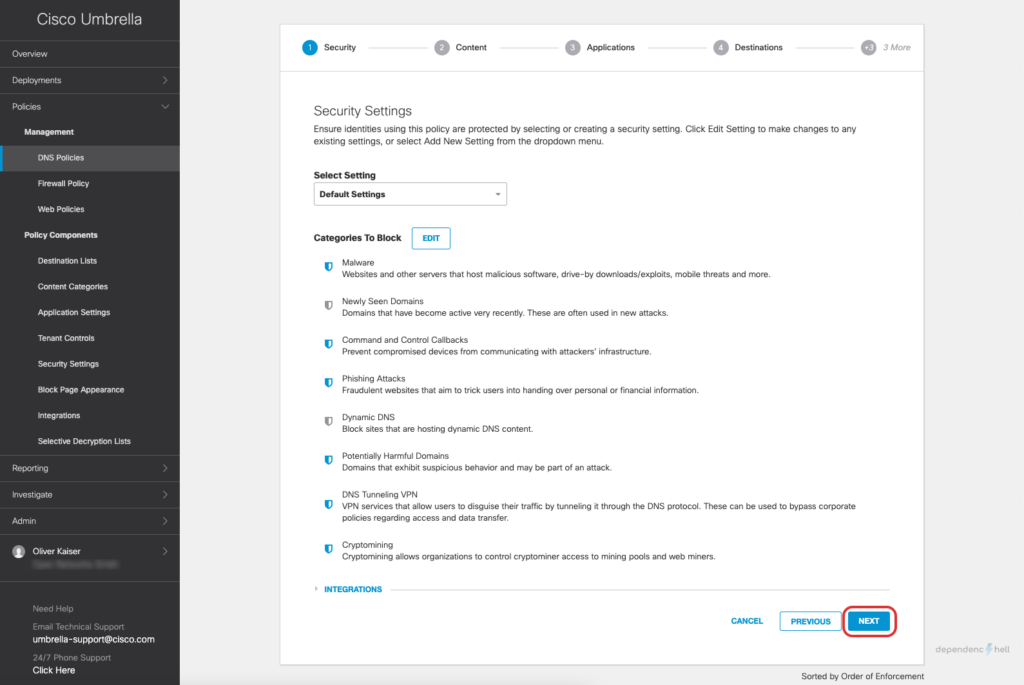
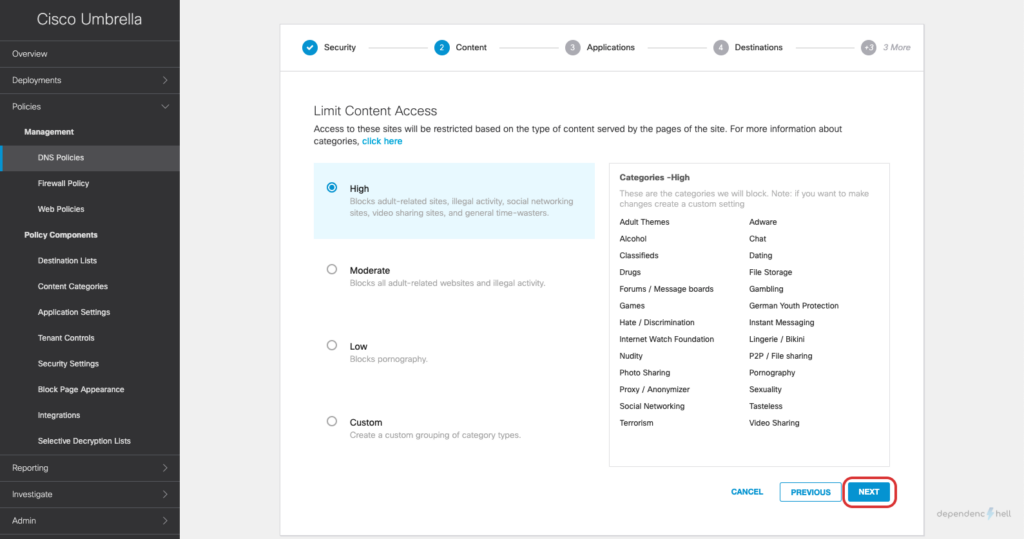
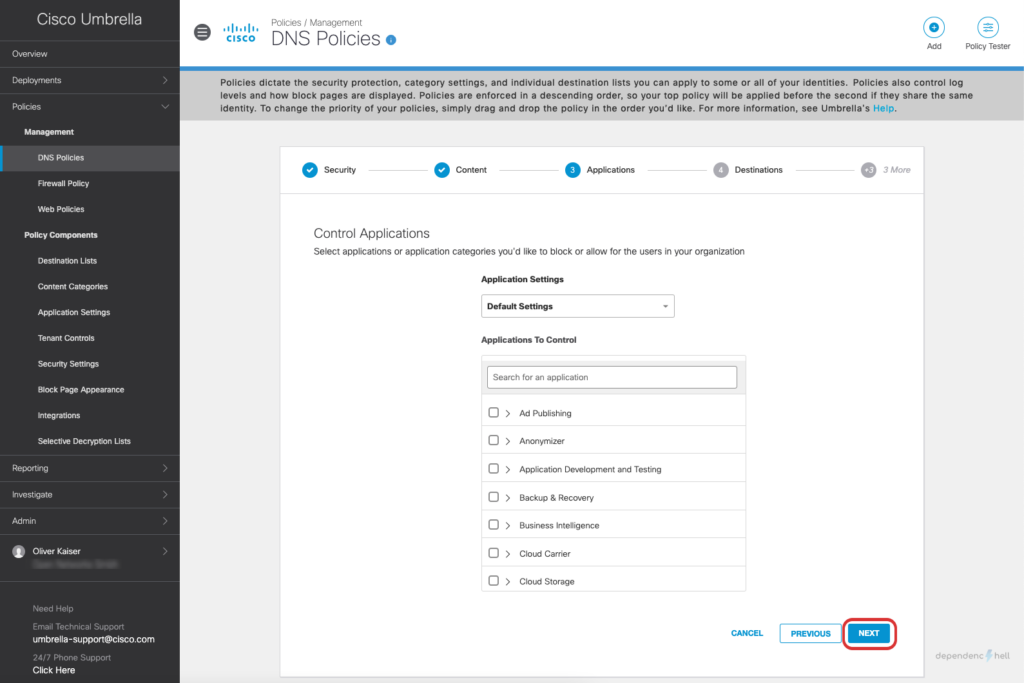
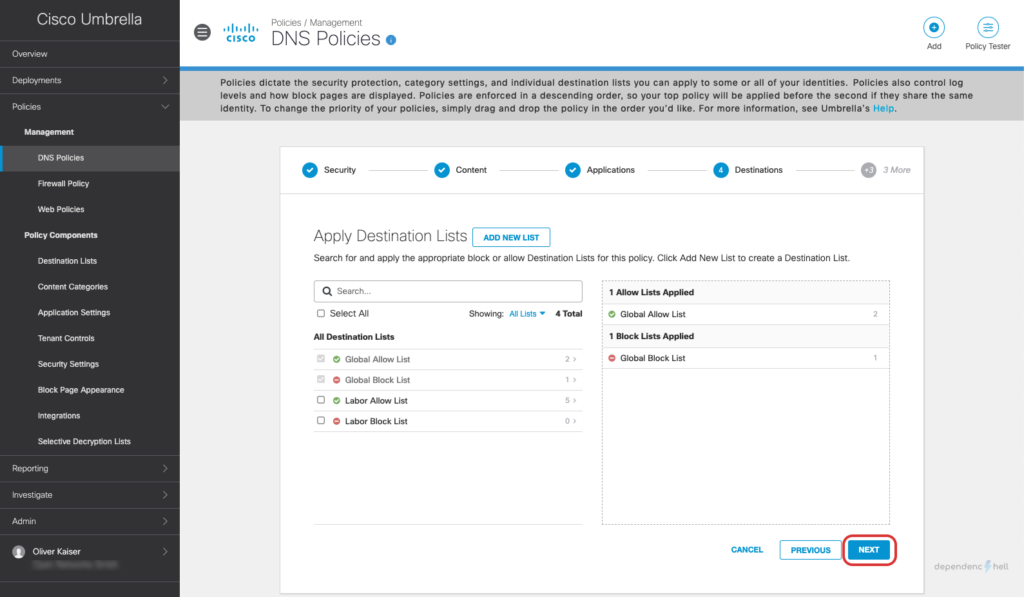
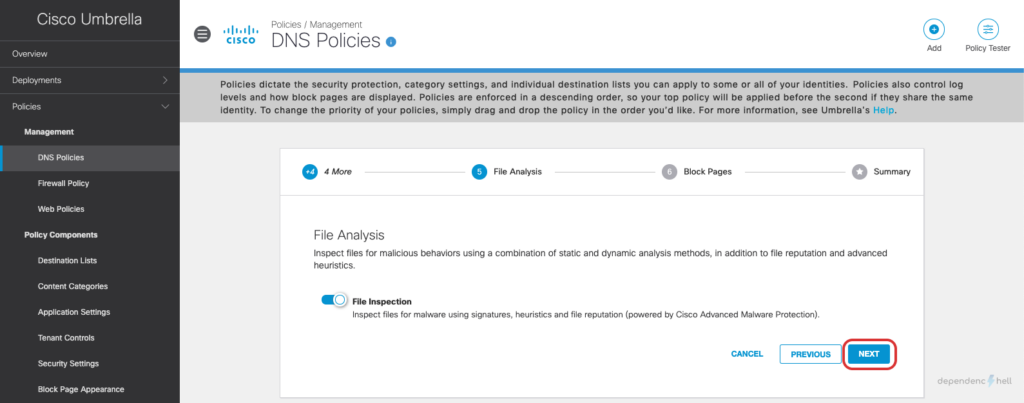
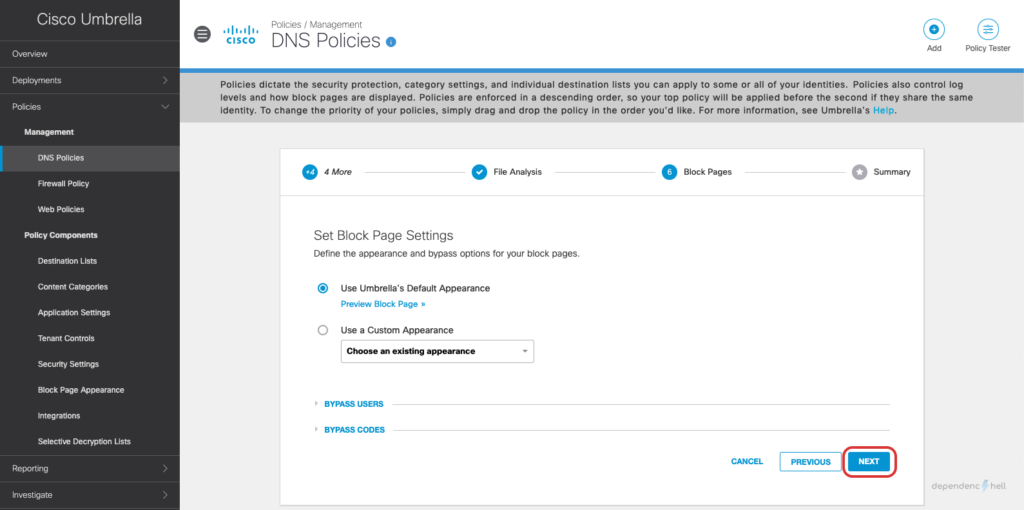
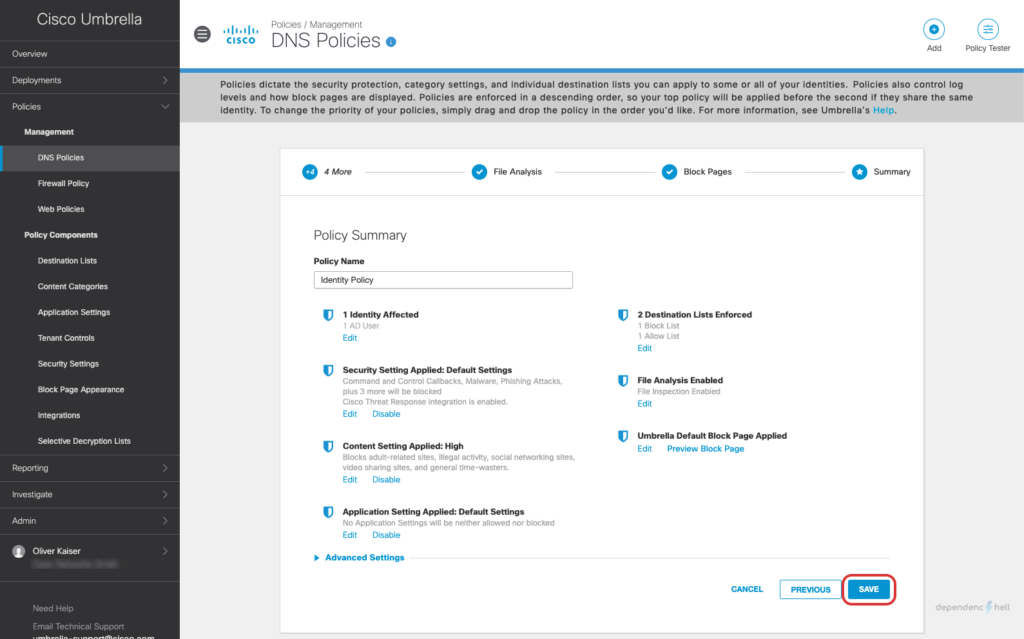
#5 Create a DNS Policy and apply it to a test user
Now that we have the required users and groups available as identities we can go ahead and create a policy for a specific user:
#6 Verify policy match
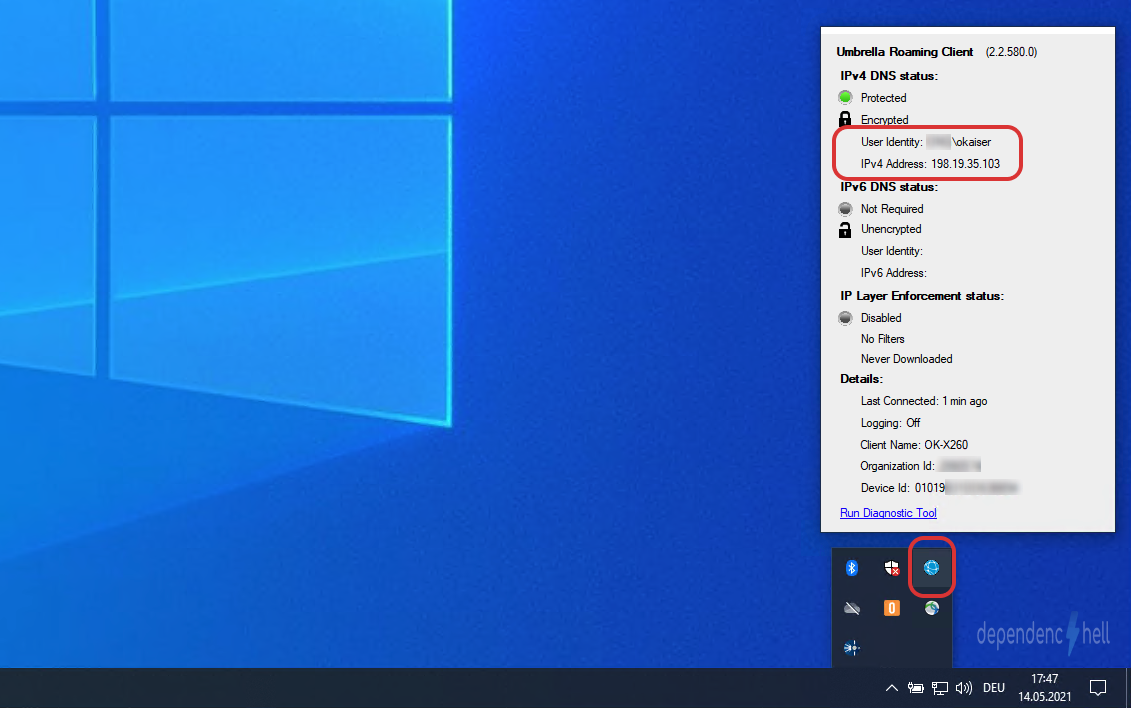
To test the identity policy I connect to my test client and verify that the logged-in user is correctly recognized by the Roaming Client:

After creating the policy we can switch to our Windows client with UmbrellaRC installed and verify that the Roaming Client is aware of the current users identity:
Since everything is looking good, we will generate some traffic. Since we did not change any settings during DNS Policy definition all requests should be logged to our Dashboard:

Note
It may take up to 10 minutes for connection events to be visible in the Umbrella Dashboard. Don’t panic, grab another cup of coffee and come back in 10 minutes before proceeding with the verification process
To make sure that Umbrella correctly enforces our policy based on user identity we can use the Activity Search (Reporting > Core Reports > Activity Search) and check if the user is being recognized:

Another tool that might come in handy is the Policy Tester which is available at Policies > Management > DNS Policies. Using the Policy Tester you can simulate traffic and check which policy matches when an identity tries to access a specific destination:

Summary
In this post we integrated Ciso Umbrella with Active Directory to enforce security policies based on a users identity. Using the Umbrella Roaming Clients capability to send information about the currently logged in user we are able to enforce our policy consistently and reliably.